
In a world where a single photo can tell a thousand stories, why settle for just one image? Imagine transforming your iPhone photos into a creative masterpiece that showcases your unique style. Cropping a picture onto another picture isn’t just a fun trick; it’s your ticket to becoming the Picasso of the digital age.
Understanding the Basics of Image Cropping
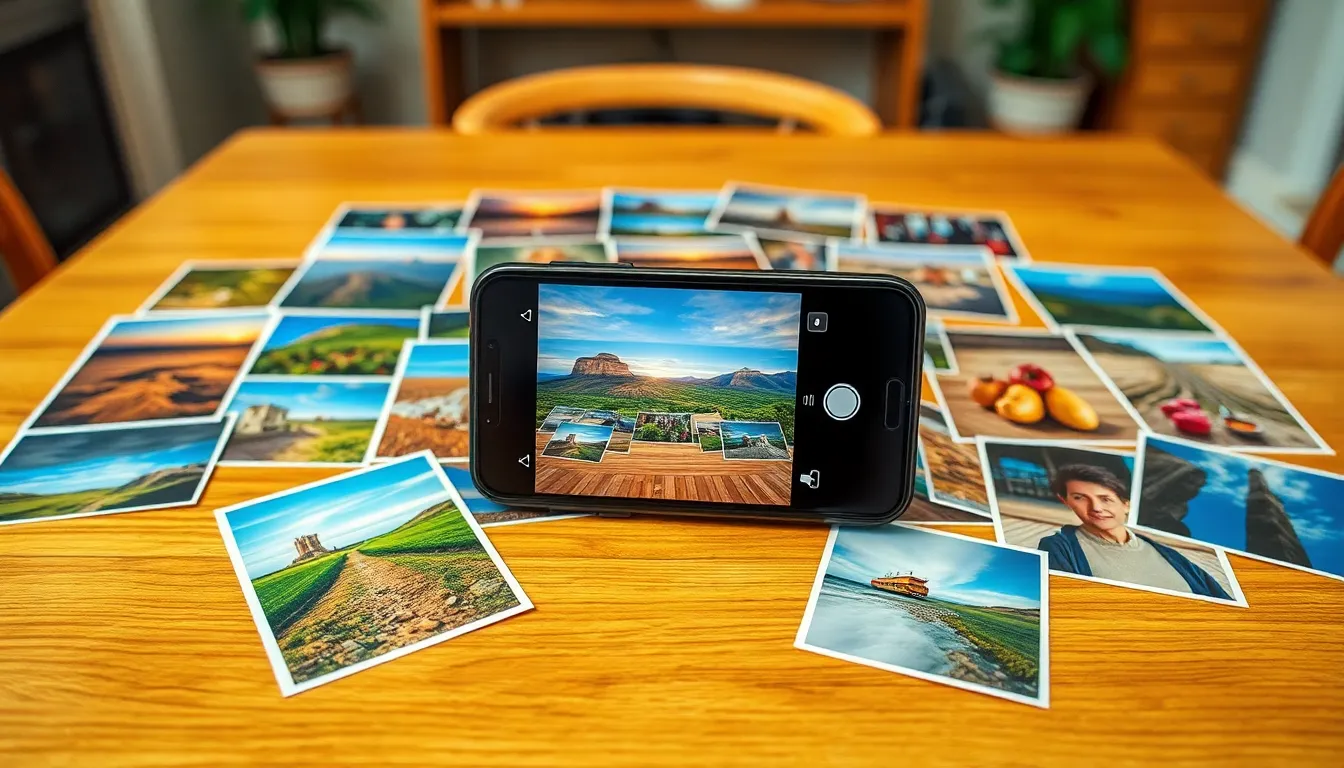
Image cropping allows users to tailor photos by removing unwanted areas. It serves multiple purposes, from focusing attention on specific subjects to altering compositions. Commonly used tools on the iPhone make this process accessible and straightforward.
Many different aspects define effective cropping. First, choosing the right aspect ratio enhances the overall look of an image. This ratio can impact how subjects are framed within a photo. Cropping also emphasizes focus by minimizing distractions in the background, guiding viewers’ eyes toward the main subject.
Various apps provide cropping functionalities. The default Photos app on the iPhone features intuitive tools that simplify this task. Users can easily adjust boundaries using simple pinch and drag gestures. Preview options show changes instantly, allowing for quick decisions about the desired result.
When layering images, cropping plays a crucial role. Seamless blending relies on precise cuts, ensuring images fit together harmoniously. By adjusting sizes and angles, it’s possible to create a cohesive final product.
Experimentation often leads to discovering unique styles. Trying different cropping techniques can change perceptions of a photograph. Changing the cropping can add depth and interest, transforming an ordinary image into a striking visual.
Understanding the fundamentals of cropping enables users to maximize creativity. It helps define imagery effectively and contributes to enhancing overall aesthetic appeal. By mastering these basics, individuals gain the confidence to explore and express their artistic visions.
Preparing Your Images
Preparing images effectively lays the groundwork for successful cropping and layering. Selecting the right photos significantly impacts the final result.
Choosing the Right Pictures
Choosing ideal pictures requires a careful approach. Focus on high-resolution images to maintain quality during cropping. Look for photos with clear subjects that can stand out when layered. Selecting images with contrasting colors enhances visual appeal as well. Often, images that tell a story work well, creating a compelling narrative when combined.
Saving Images in the Correct Format
Saving images in the correct format ensures compatibility and preserves quality. JPEG and PNG formats are commonly used for their balance of quality and file size. Saving images as PNG captures transparency, essential for layering. Opting for high-resolution versions maintains detail after cropping. Avoiding overly compressed files helps retain clarity, especially in layered compositions.
Using the Photos App
The Photos app on the iPhone offers straightforward tools for cropping images. Users can enhance their creativity through simple adjustments.
Accessing the Editing Tools
To start, users must open the Photos app and locate the image to edit. Tapping on the selected photo reveals the options at the bottom of the screen. Next, the “Edit” button becomes accessible, allowing entry into the editing interface. The editing tools include options for cropping, adjusting lighting, and applying filters. Users should focus on the crop icon, which features a square shape with arrows. This icon opens the cropping tools.
Cropping the First Image
After accessing the crop feature, users can manipulate the photo’s dimensions. Adjusting the corners of the cropping box allows for tailored compositions. Users should drag the edges to encompass desired areas while eliminating distractions. An aspect ratio selection appears at the bottom, providing pre-set ratios for convenience. Choosing a ratio helps maintain a balanced visual. Tapping “Done” saves the edit, enabling the user to proceed with layering images seamlessly.
Overlaying the Second Picture
Overlaying images on an iPhone enhances creativity. This process allows users to combine photos seamlessly for striking effects.
Using Markup Tools
Markup tools enable precise adjustments during the overlay process. He or she starts by selecting the desired photo and using the Markup feature found within the Photos app. Next, they can tap the “+” button to add another image. Options include inserting shapes or drawings, creating truly personalized overlays. Manipulating colors can improve visibility between the images. Experimenting with transparency settings helps blend the layers effectively. This layering technique transforms ordinary images into unique visual stories.
Adjusting Size and Position
Adjusting the size and position of the overlayed image is crucial for achieving a balanced composition. Users can pinch the overlay photo to resize it. They must drag it to the desired location on the background image for optimal visibility. Utilizing the grid feature helps align elements harmoniously. Selecting different aspect ratios can enhance the overall layout. Fine-tuning these adjustments provides a polished final product. This attention to detail can elevate the quality of combined images.
Finalizing Your Image
Finishing touches enhance the overall impact of a combined image. Users can explore filters and effects to add a unique flair.
Adding Filters and Effects
Filters serve as valuable tools for transforming photos. Users can choose from a range of options, adjusting brightness, contrast, and saturation to create desired moods. Applying a vintage filter can evoke nostalgia, while a vibrant one can energize the image. Experimenting with different styles allows for personal expression. Effects such as blurring can also soften backgrounds, drawing attention to the main subject. Adjusting the strength of filters ensures that images maintain their integrity while highlighting artistic creativity.
Saving and Sharing Your Creation
Saving edits preserves the final image for future use. Users should tap the “Done” button once satisfied with the adjustments, ensuring all changes apply. Selecting the appropriate format, such as JPEG or PNG, enhances compatibility for sharing. Sharing options within the Photos app facilitate direct access to social media platforms, allowing users to showcase their creations quickly. It’s important to consider privacy settings when posting online. High-resolution images maintain quality, ensuring that the impact of the work resonates with viewers.
Transforming photos on an iPhone opens up a world of creative possibilities. By mastering cropping and layering techniques users can elevate their photography and express their unique style. The Photos app provides intuitive tools that make this process accessible to everyone.
With the right approach to image selection and editing users can create stunning visuals that tell compelling stories. Experimenting with different effects and adjustments further enhances the artistic quality of combined images.
Ultimately it’s about embracing creativity and having fun while crafting beautiful compositions that resonate with viewers. With practice and exploration anyone can become their own digital artist.